Day 2 - Processing RNAseq reads with nf-core/rnaseq pipeline
Recap from Day 1
- Yesterday we covered:
- How to use Unix.
- How to get onto HAWK and navigate it.
- How to execute the fetchngs pipeline.
Outputs from the differentialabundance pipeline
- We should all have had an email from SCW HAWK - HPC SERVICES notifying you of a successful pipeline run.
- Sometimes the email function doesn’t work. We can just log in and check ourselves.
- To check, we need to log back onto HAWK, load the tmux module, and then open the session that we created.
- NOTE: When using tmux, we need to make sure we are logged into the correct node. When we covered the log ins yesterday, we logged onto the cl1 node. The tmux session we made will only be present on the cl1 node. If we were to log in to the cl2 node, we wouldnt be able to find the tmux session.
#log onto HAWK
c.c1234567@hawklogin01.cf.ac.uk
PASSWORD

#move to the working directory (scratch)
cd /scratch/c.c134567/rnaseq

#load tmux
module load tmux

#open our tmux session
tmux attach -t fetchngs
- Upon opening the session, we should have a window that looks like this:
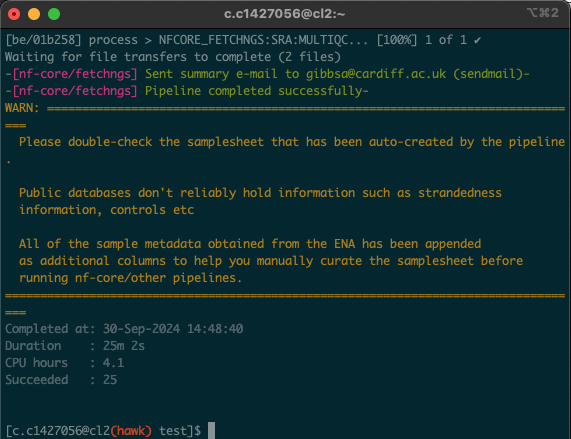
-
In this situation, the process took 25 minutes. As all of us were using the pipeline at the same time, these times may significantly vary. Download times will also depend on the size and number of files being downloaded.
- If we list (
ls) the contents of the file, we will see that there is a newworkdirectory. - This directory is created by the pipeline and uses it as a storage space for intermediate files etc.
- If we were to encounter an error whilst running a pipeline, we can check the log file that is created.
- To do this, we need to use the
ls -lacommand to show hidden files. - We will see a file named
.nextflow.log. This file is what contains the pipeline running information.
- When we run the pipeline yesterday, we asked for the fastq files to download to the input directory.
- Running
lson the input directory shows that there are 4 new directories that have been created: fastq, metadata, pipeline_info, and samplesheet. - The fastq files can be found in the fastq directory. If we list the contents of the fastq directory, we will see that there is also a md5 directory.
- This directory contains the md5 checksums for each fastq file.
What is an md5 checksum?
An MD5 checksum is like a digital fingerprint for a file. When you create an MD5 checksum, it takes the contents of the file and runs it through a special formula to produce a unique string of characters. This string is always the same length, no matter how big or small the file is. You can use this checksum to verify that the file hasn’t changed. For example, if you download a file and it comes with an MD5 checksum, you can run the same formula on your downloaded file. If your checksum matches the one provided, it means the file is intact and hasn’t been altered. If it doesn’t match, the file might be corrupted or tampered with.
- It is good practice to validate your checksums to ensure that we dont have any data loss.
- To keep things running, we won’t be validating these but we can validate using the method in the dropdown box below:
How to validate checksums
1) Create md5 checksums for every fastq in the input directory and pipe them into a text file. 2) Combine the provided checksums into one file. 3) Compare the two checksum files for any differences. If they are the same, then you have correctly downloaded the complete files.
#generate md5checksum for downloaded files
md5sum input/fastq/*.fastq.gz > my-checksums.txt

#combine provided checksums into one file
cat input/fastq/md5/*.md5 > provided-checksums.txt

#compare checksum files with the provided checksum file
diff -s my-checksums.txt provided-checksums.txt

#Output from console
Files my-checksums.txt and provided-checksums.txt are identical.

</details>